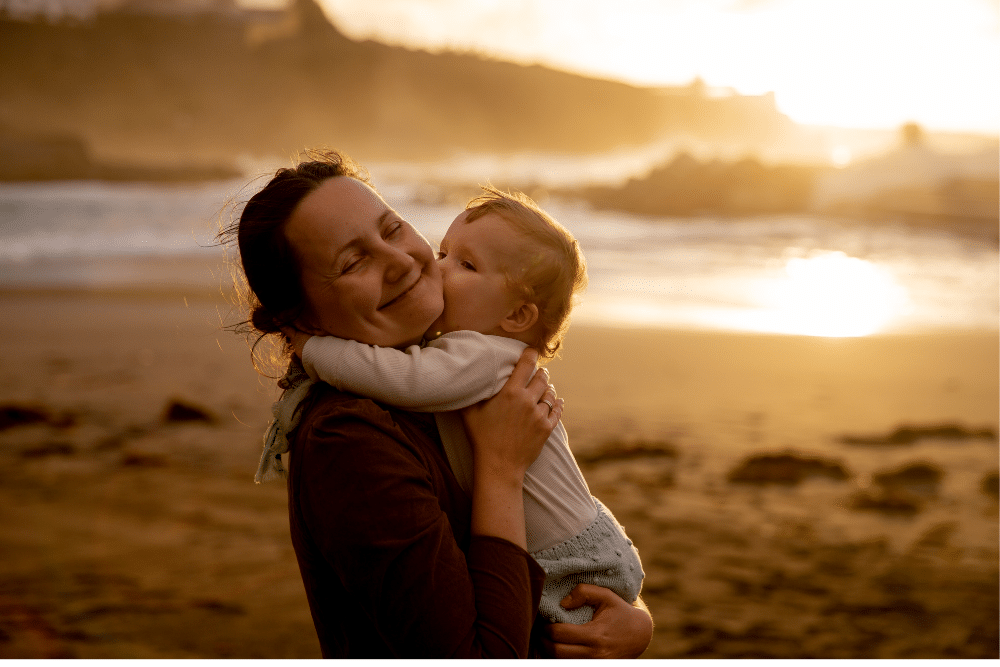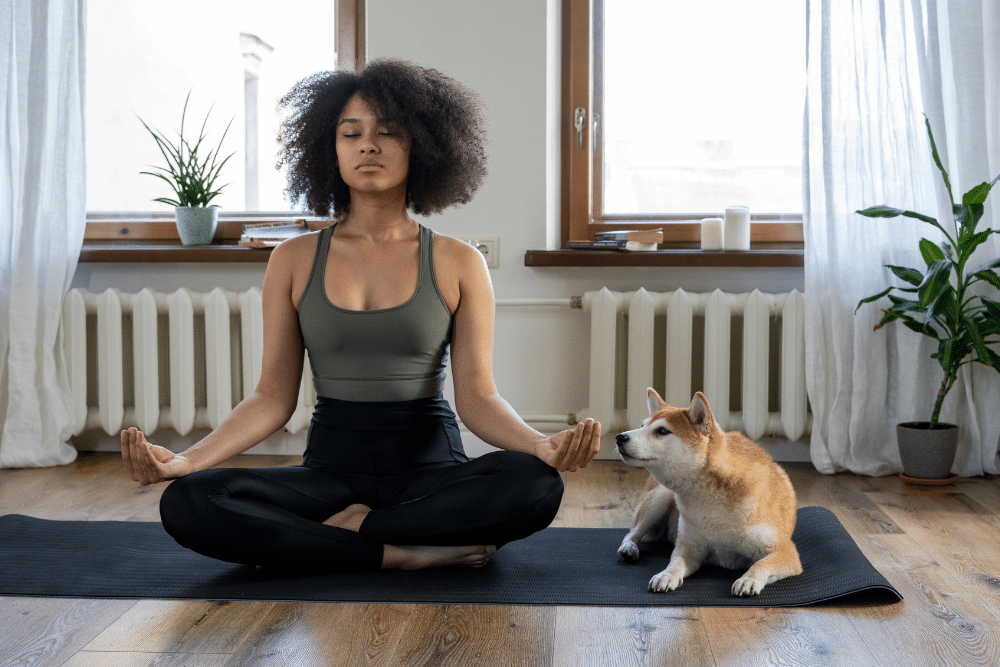
After you have a baby, it’s normal to be eager to regain strength and tone in your midsection or core. In this post, I’m going to share some of my favorite poses to help you do just that through gradually adding more yoga into your life.
(The benefits of postnatal yoga or postpartum yoga extend FAR beyond core strength–both for the new mom and the family she’s caring for!).
My story
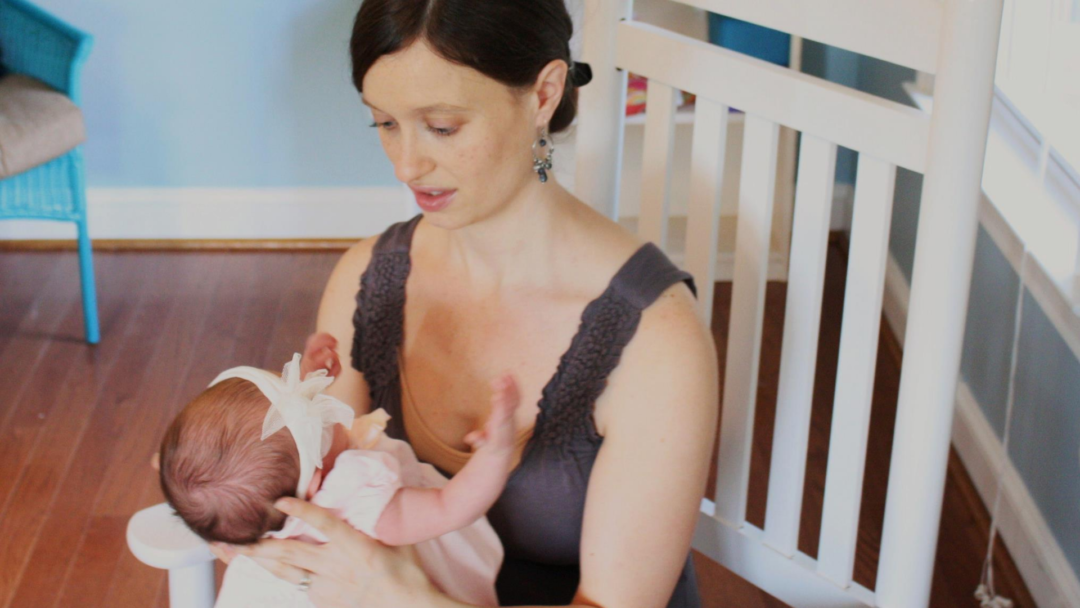
I remember after my first birth, I was so surprised that I struggled with simple things like getting out of the backseat of my car after I strapped my baby into her carseat. I knew that other postpartum women had this type of problem, but I didn’t think I would.
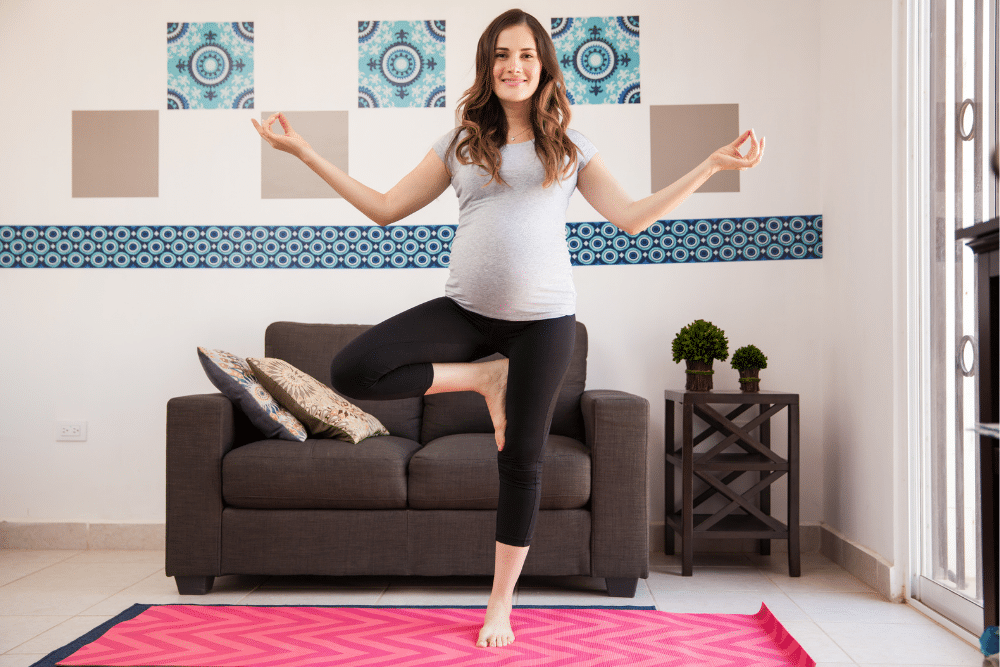
My pregnancy had be pretty easy. I had been active and strong. (I was still able tp press into headstand at 8 months pregnant.) But after my baby was born, it was like my core forgot how to function.
Duh.
Everything had been stretched out of place and it would take some time for things to go back together again. Why I thought I could escape this fate, I don’t know. Like so many aspects of a first pregnancy and first baby, it just seemed so surreal. It was hard for me to imagine myself needing time to recover.
See also Is it Safe? Core Work during Pregnancy
Then came the panic… and guilt.
(First about the function of my core muscles. Then, the aesthetic.)
What if I never regain the use of my core muscles? How will I take care of my baby if I can’t get out of the back seat of my car when I put her in her carseat?
What if I can never wear a two-piece swimsuit again? What if I look pregnant forever?
Then, I felt guilty for even having those thoughts.
I had grown a PERSON! Shouldn’t I be proud of my body for creating life? What was wrong with me?
But I didn’t just want to feel strong again. I wanted to look strong, too.
It’s OK to feel how you feel.
In case you have these same feelings, let me remind you:
- You can love your body and be proud of it AND long for it to look strong, too.
- You’re allowed to set your sights on a flatter tummy.
- My hope for you is that whatever your goals, they come from a place of love for yourself — not for disdain for your new body and/of life as a mother.
- Trust that if your body knows how to grow an entire human from scratch, it also knows how to heal.
- It might never be the same as before pregnancy, but your core can still be strong, heathy, functional, and beautiful! I hope you feel beautiful and confident NOW with the body you have (yoga can help with that process, too.)
Ready to learn my favorite core strengthening poses for the postpartum phase? Let’s get to it, shall we?
Postnatal Yoga: Poses for Postpartum Core Strength
But first, a disclaimer: New moms should get clearance for exercise from their medical care provider before trying these exercises. Please check with your doctor or midwife first!
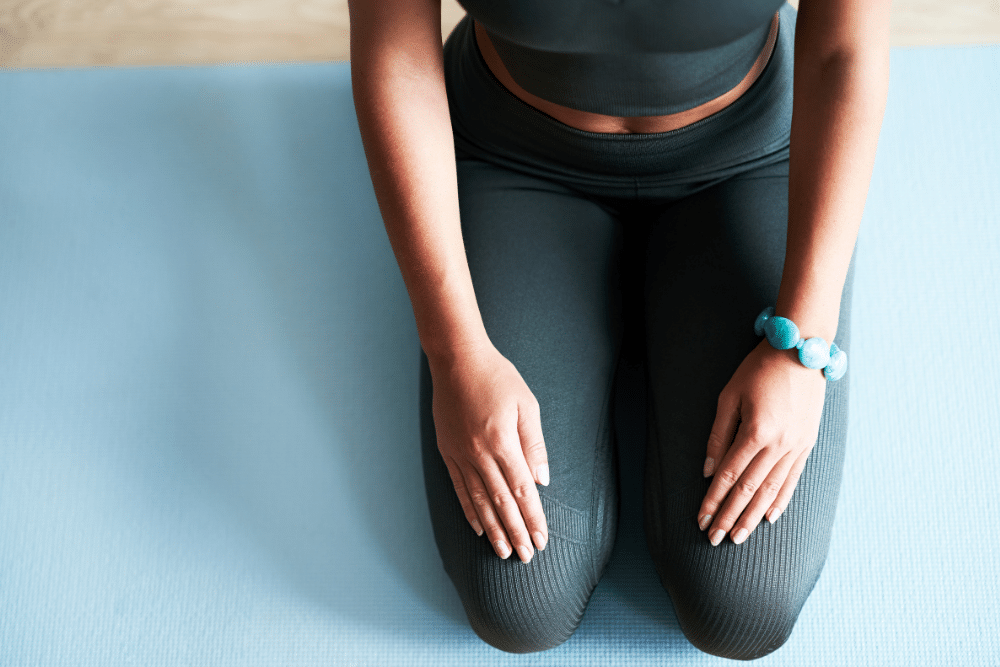
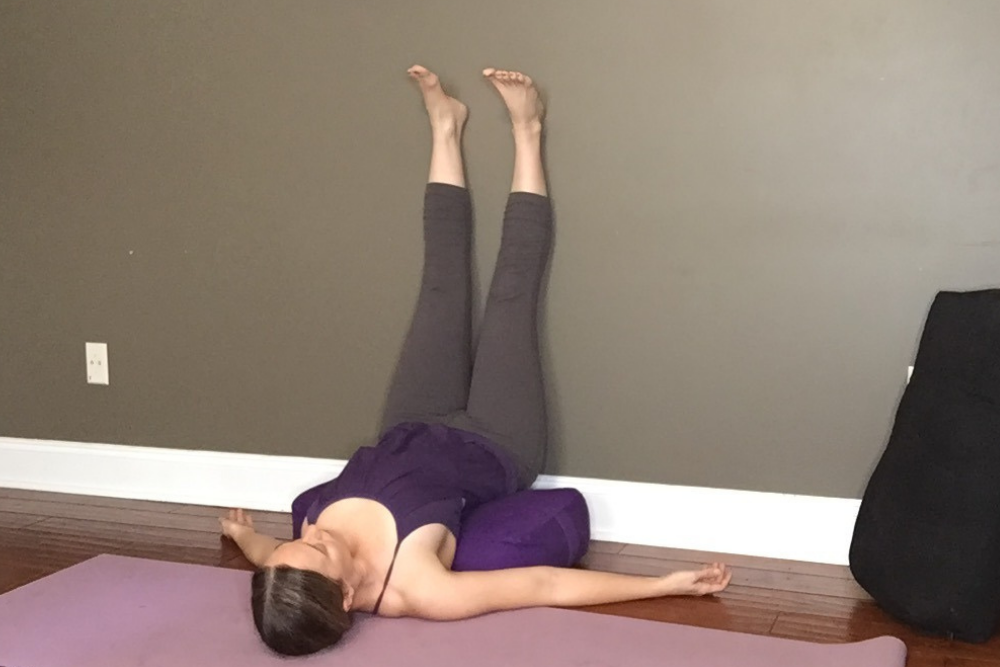
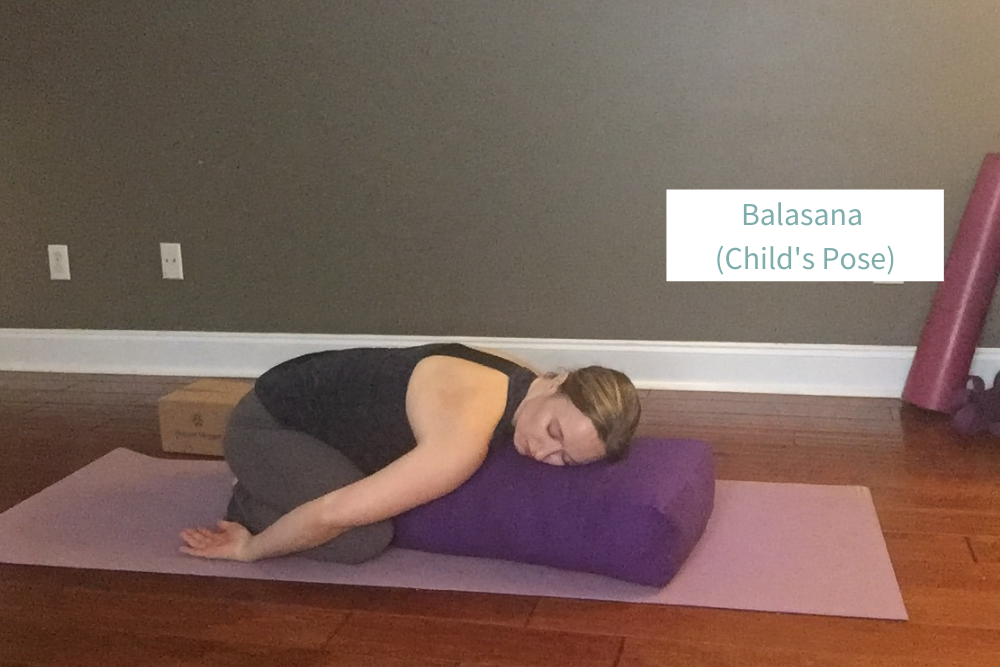
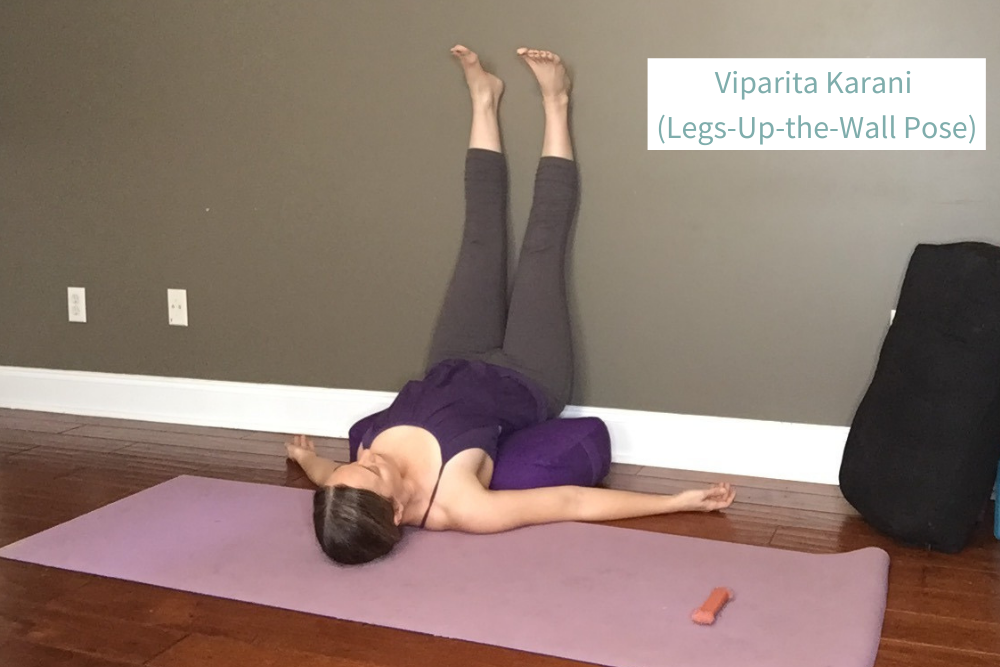
Phase 1: New baby! Awareness core work (First 3-6 months)
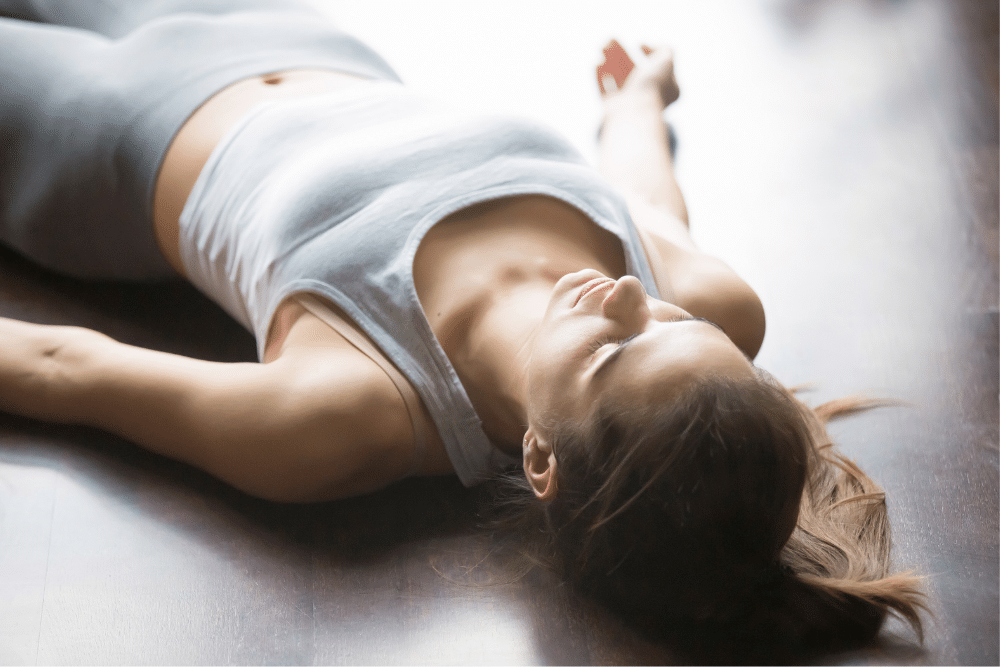
Deep belly breathing.

Start lying on your back with your knees bent and feet on the floor. Close your eyes and bring your hands to your belly, taking a moment to appreciate what an amazing gift your body has given you. ‘
Remember how it felt to have a life growing within. Take a deep inhale and imagine your torso filling with gratitude for your body and compassion for yourself.
Reclined pelvic tilts.
Bring your awareness to your low back. Notice how it naturally curves away from the floor. Take a big inhalation. On the exhalation, tilt your pelvis so that your hip points lift up toward your shoulders. The small of your back will gently press into the floor. Notice how that very subtle movement engages your deep abdominal muscles.
Inhale, find the natural curve in your low back again. Repeat 5-10 times (start with just a couple and add as you get stronger).
Phase 2: Postpartum Core Strength – Gaining strength. (No sooner than 3-6 months)
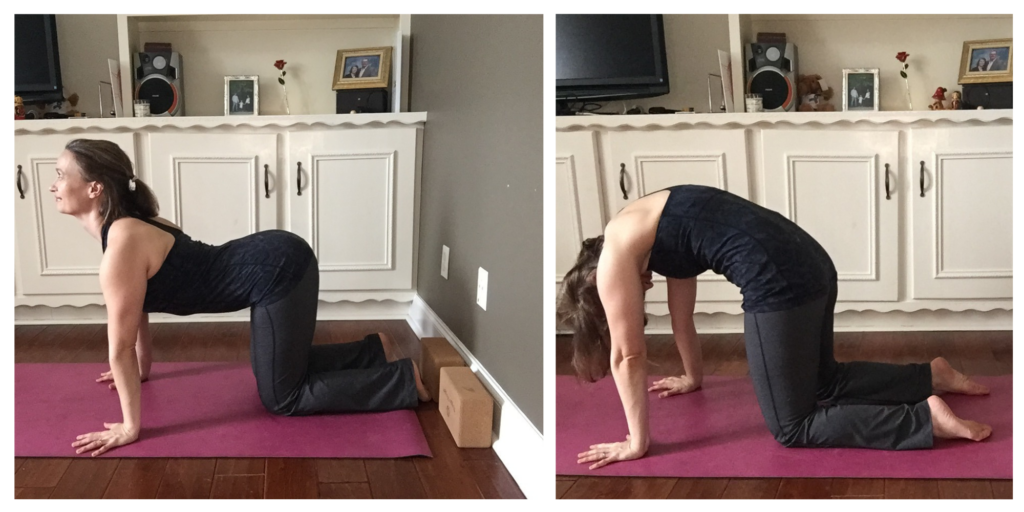
Cat – Cow
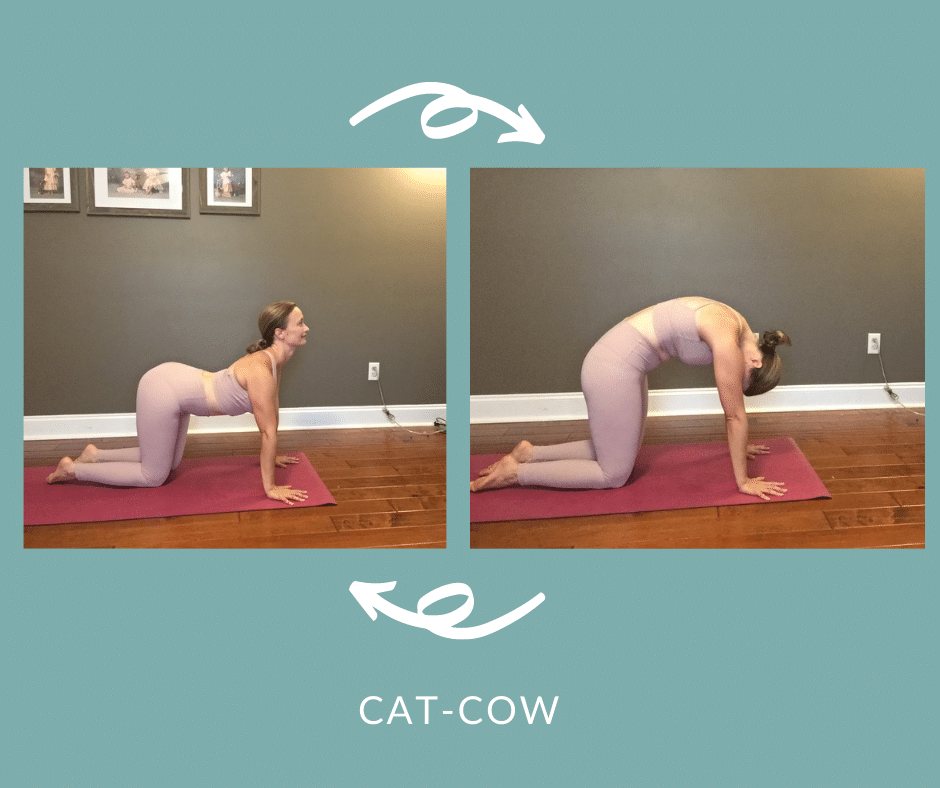
Remember this one from prenatal yoga? Come to all fours and practice bringing your chest forward into a mild backbend on the inhale and rounding your back on the exhale. (Repeat 5-10 times or until you get tired of it.)
Cat – Cow Curls
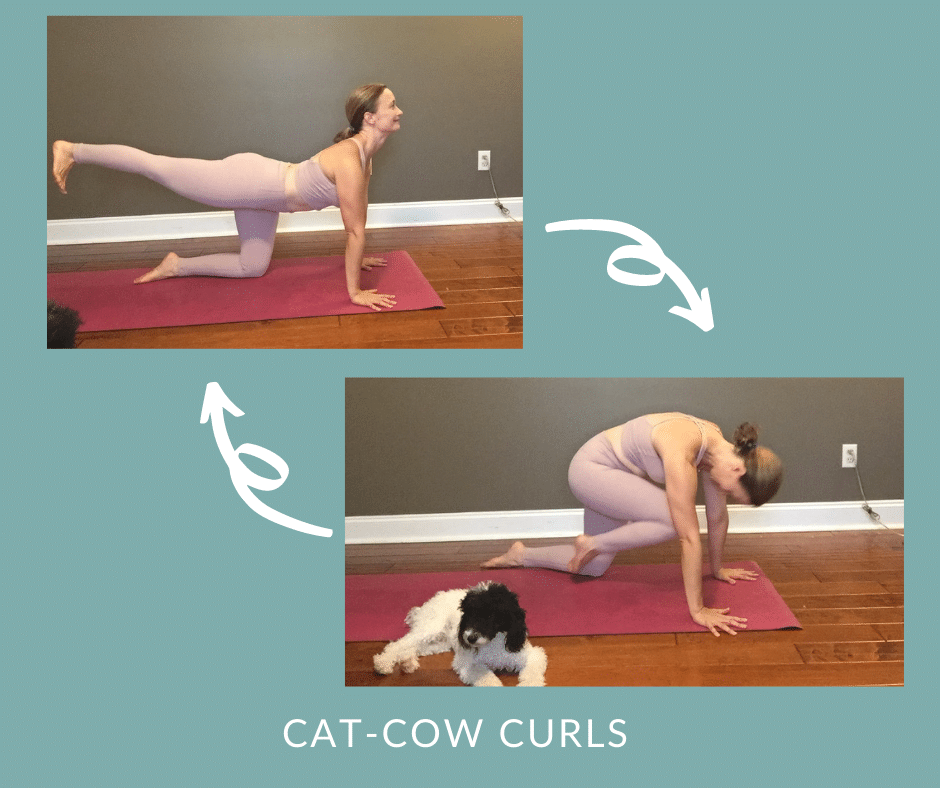
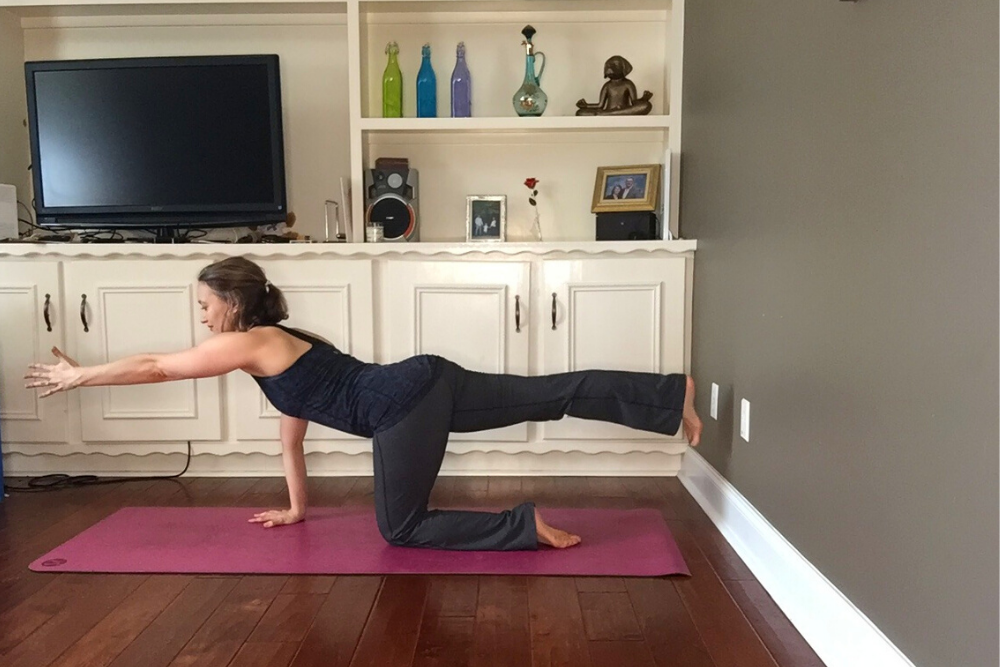
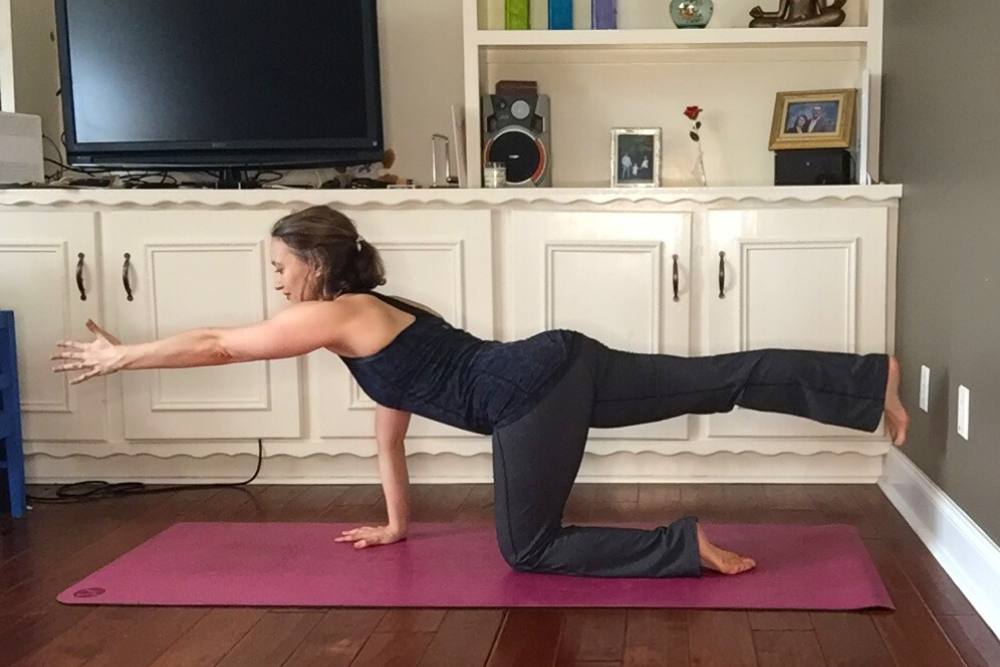
This one is for when you’re ready to incorporate even more abdominal strength into your Cat-Cow practice. Bring one leg behind you parallel to the floor as you find your Cow Pose. Know that holding this position may be enough at first.
When you’re ready for more, practice bringing the lifted knee in toward your nose while you round your back into Cat Pose. See how close you can get your knee to your nose.
Do several rounds at your own pace, following the rhythm of your own breath.
Plank Variations
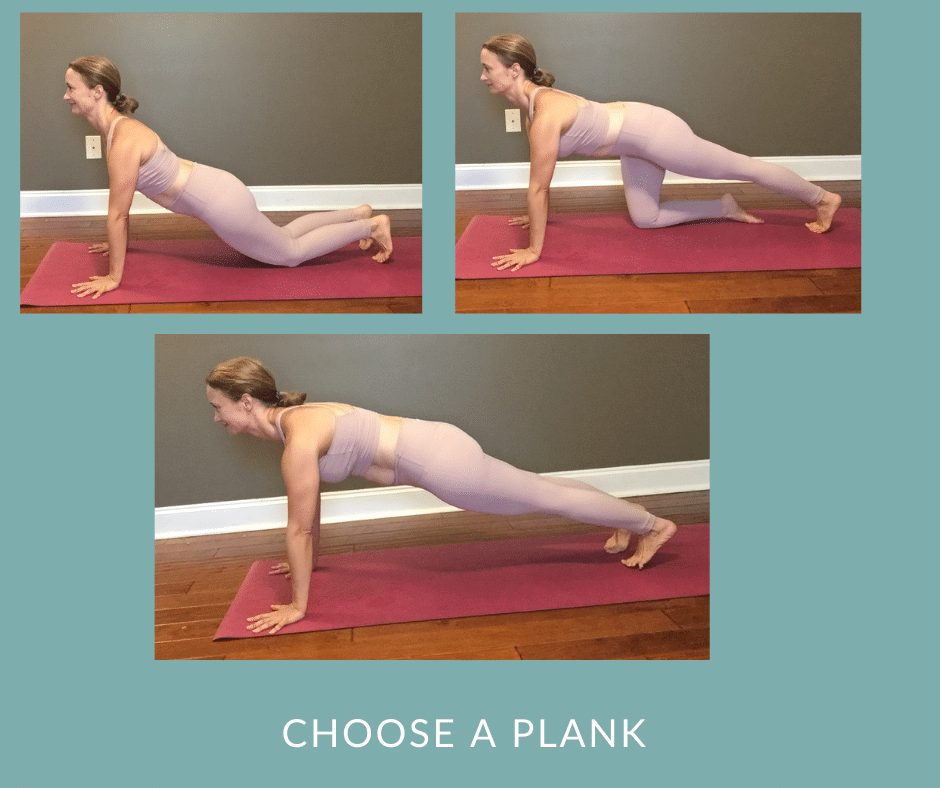
Go slow with Plank!
Start on hands and knees. If that feels OK, start to move your knees back further until your shoulders, hips, and knees are all in line. If you have a hard time holding this (sagging hips or collapsing shoulders), go back to hands and knees.
Once you’ve mastered the knees down version of Plank. You can try straightening one leg behind you. Then, the other. Work up to holding the Plank of your choice for 30 seconds to 1 minute.
Toe Taps
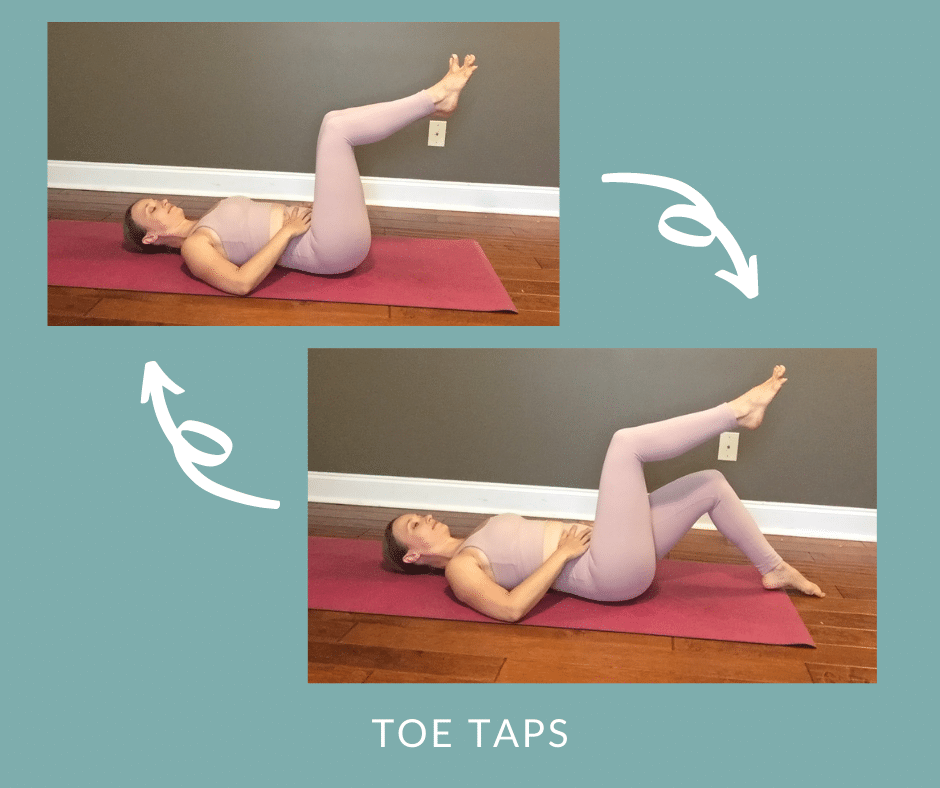
Lie on your back with your knees bent and your feet on the floor. Lift one leg so that your knee hovers right above the same side hip. Adjust the angle of the knee so that it’s around 90 degrees. (That means your shin is parallel to the floor.)
Take a deep breath in. On the exhalation, slowly lower that foot to the floor keeping that 90-degree angle of the knee. Tap you toes on the floor. Lift the leg back to its starting position with the inhalation.
Repeat a few times, alternating legs.
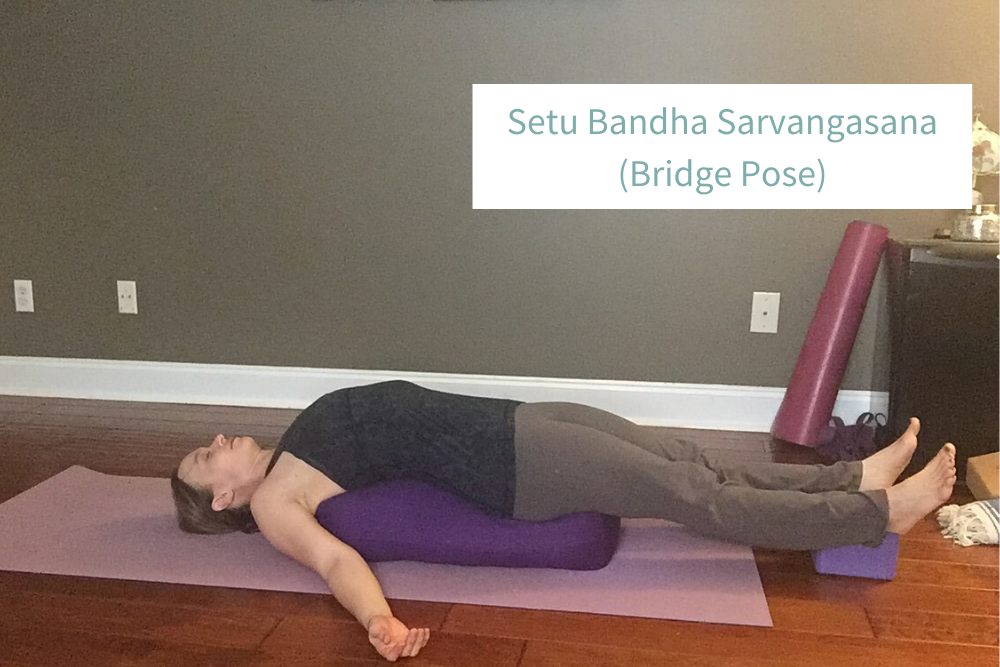
Bridge Lifts
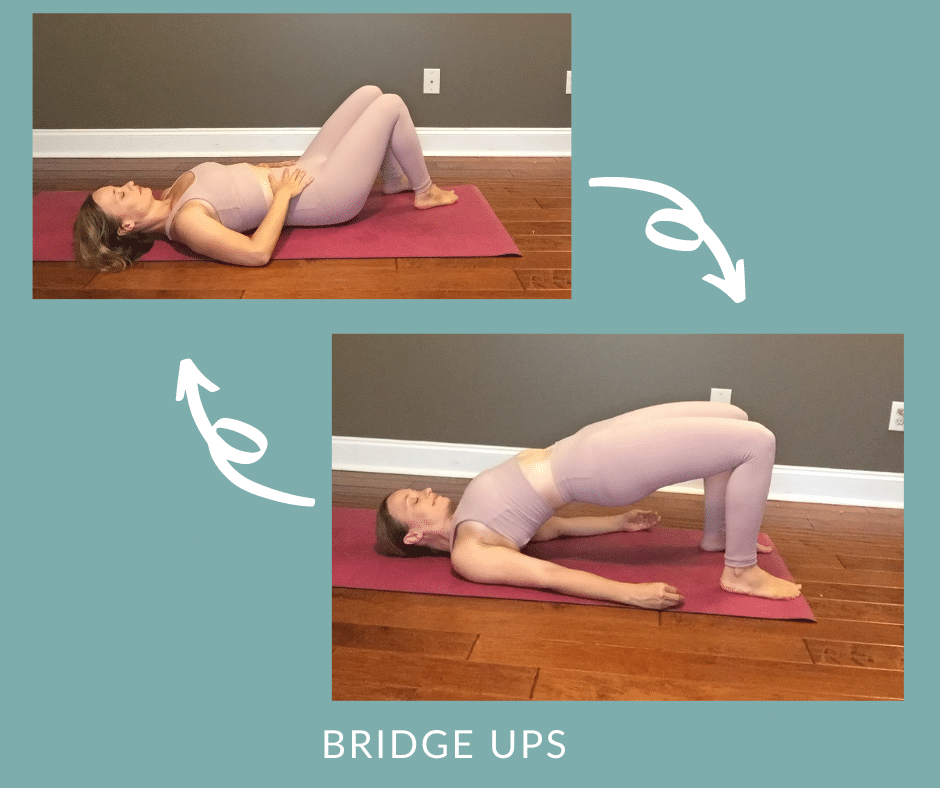
Lie down on your back with your knees bent and your feet on the floor. Start to tilt your pelvis (hips toward your shoulders) until you can feel your low back pressing gently into the floor. (See Supine Pelvic Tilts above.) Then, as you inhale, start to lift your hips away from the floor until you find Bridge Pose (Setu Banda Sarvangasana).
As you exhale, slowly lower back down to the floor with control — shoulders, ribs, then hips. Repeat a few more times, allowing your breath to set your pace.
Reclining Twist Strengtheners

Lie on your back. Lift your knees so that they’re directly over your hips, knees at a 90-degree angle. Reach your arms out to the sides in the shape of a T. Inhale. On a long exhalation, slowly start to bring both legs to your right side so that they hover over the floor. Try not to let them touch – or touch touch just for a second! With you next inhale, slowly lift the legs back to their starting position. Then, try the other side.
Remember, moving slowly and mindfully is more important than anything else. Start with just one time to each side and add on as you feel ready.
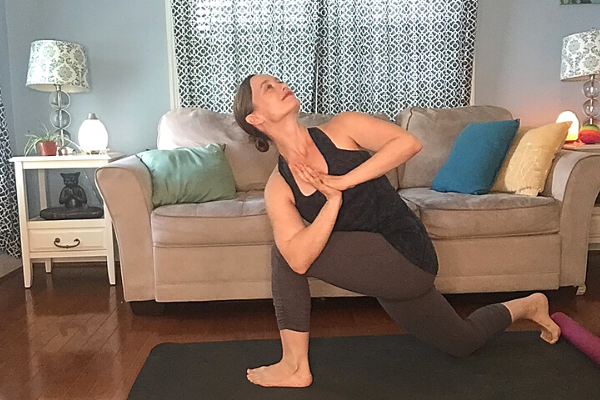
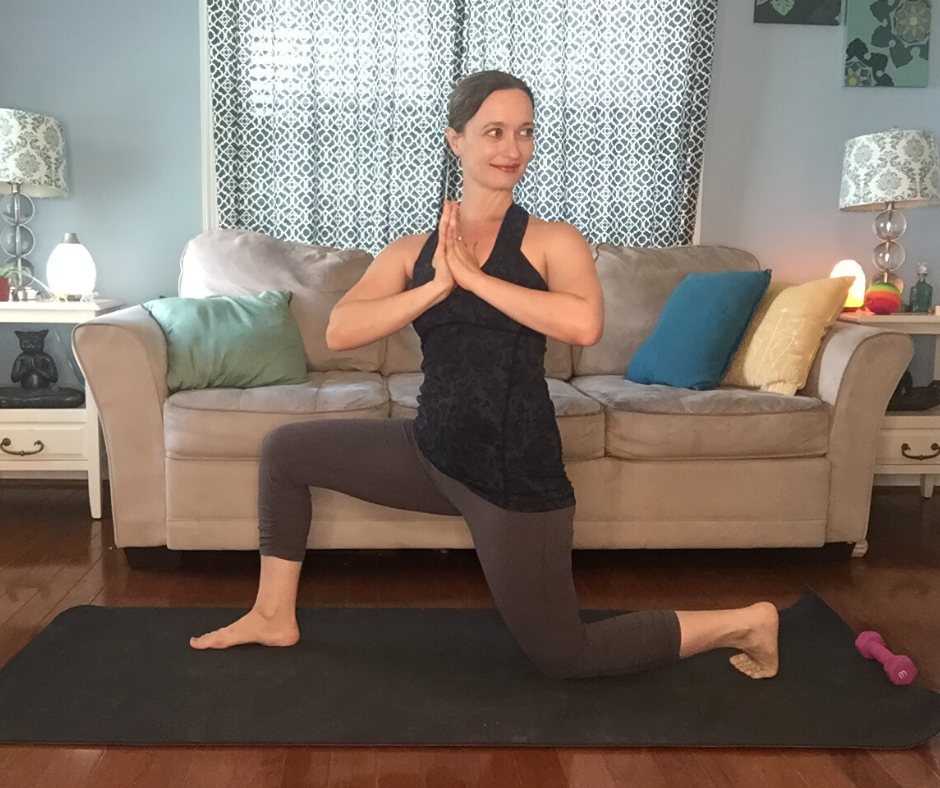
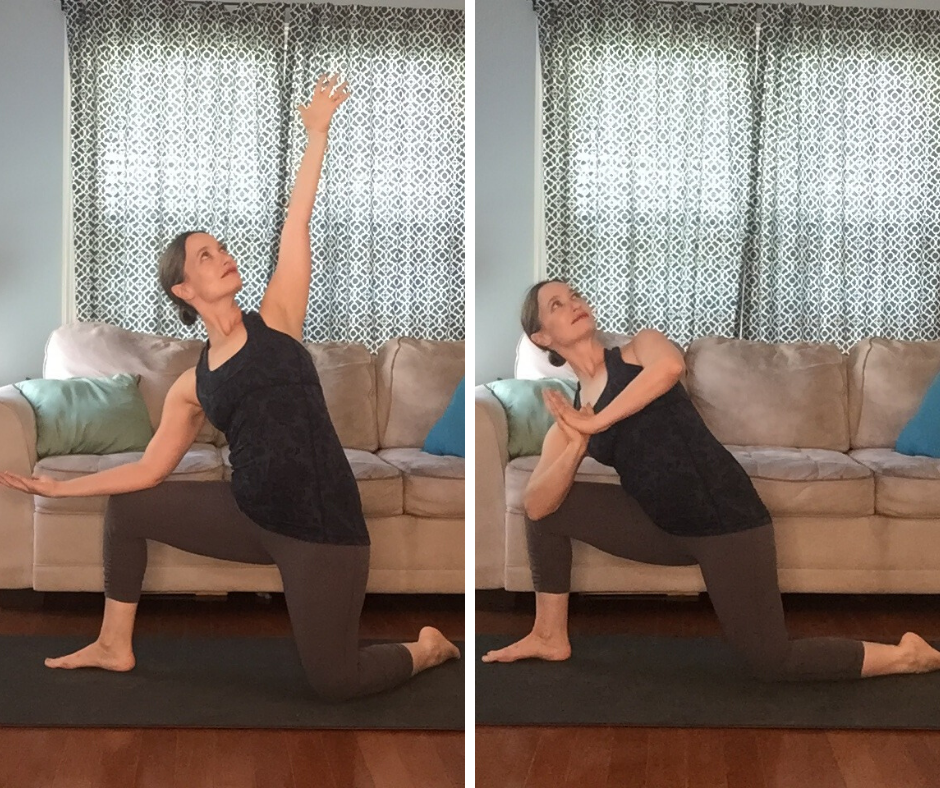
Phase 3: Postpartum Core Strength – Ready for more!
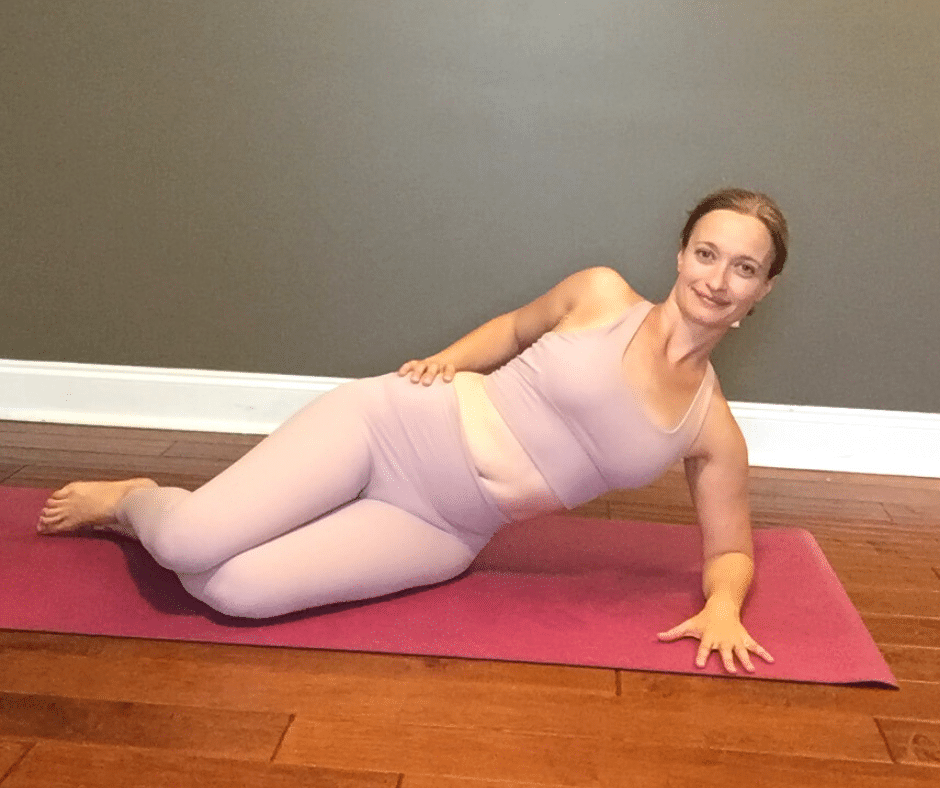
Side plank hip lifts
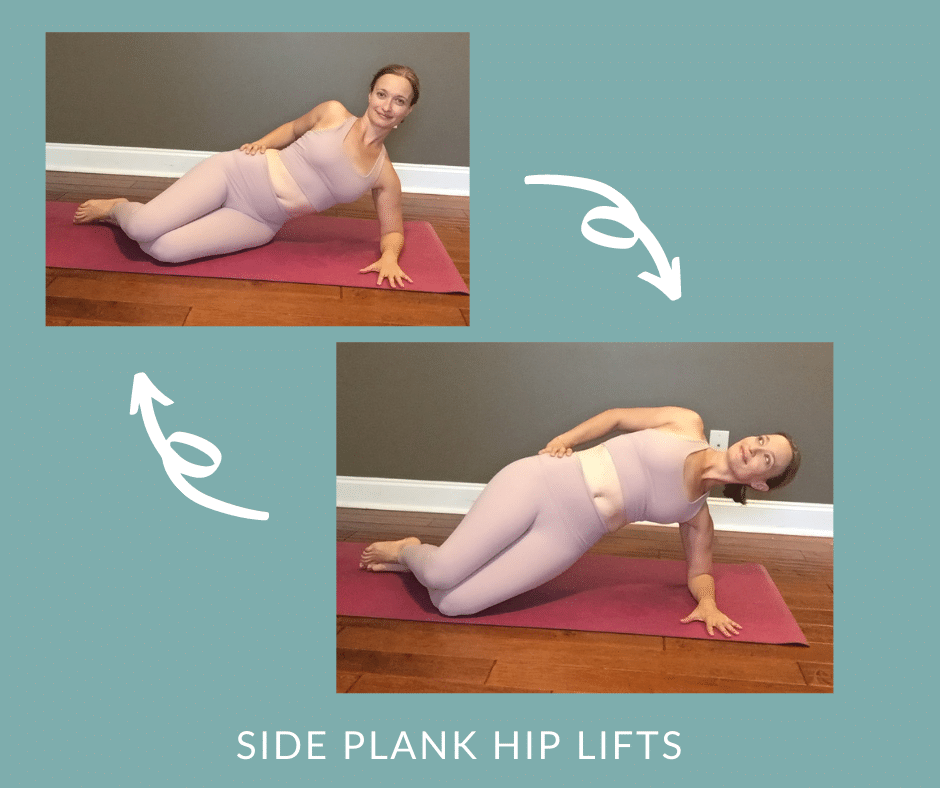
Start this one in a Side Forearm Plank position with your bottom knee bent (see photo). With an inhale, lift your top hip up and lower it with an exhale.
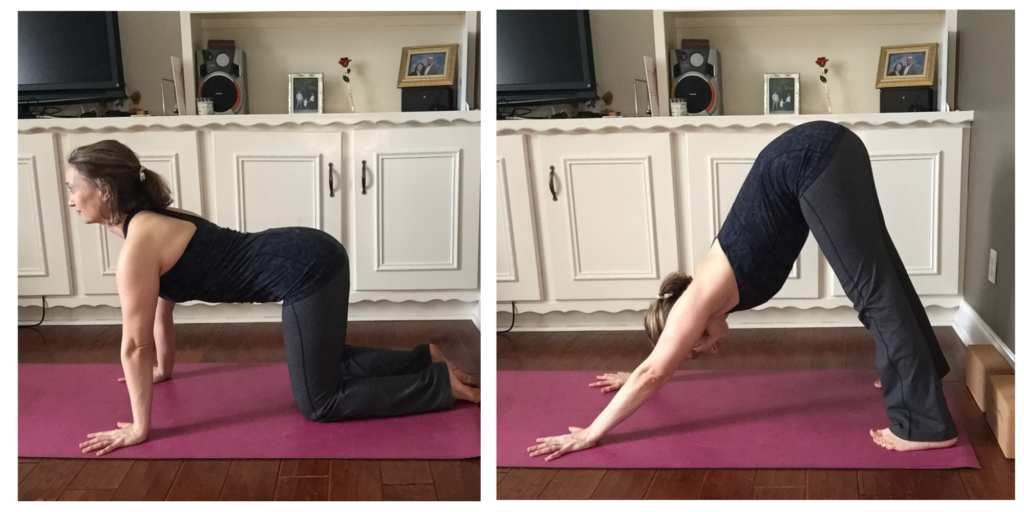
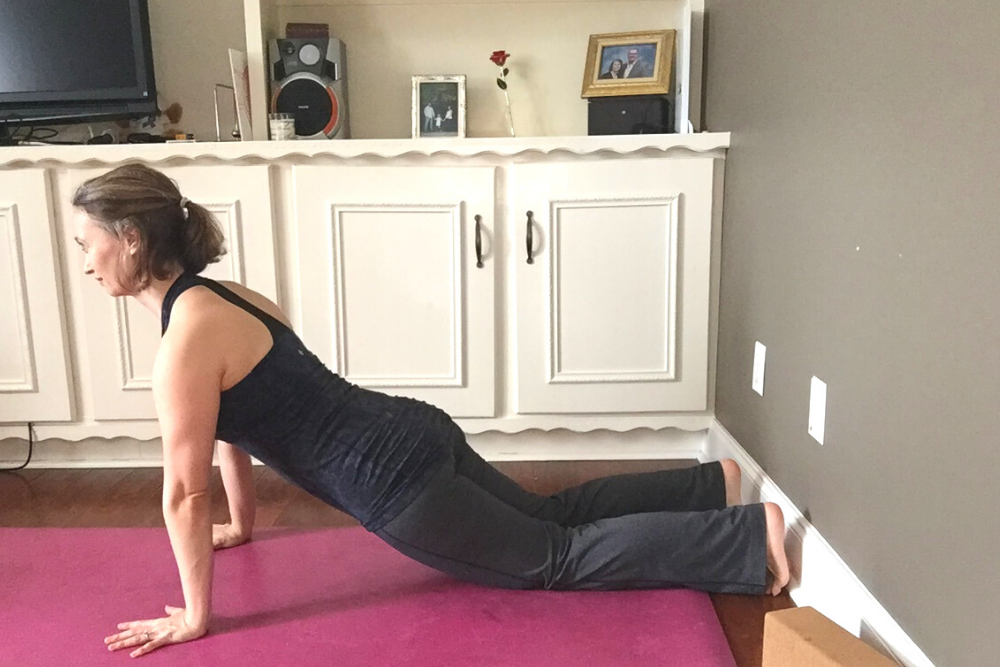
Down Dog to Plank
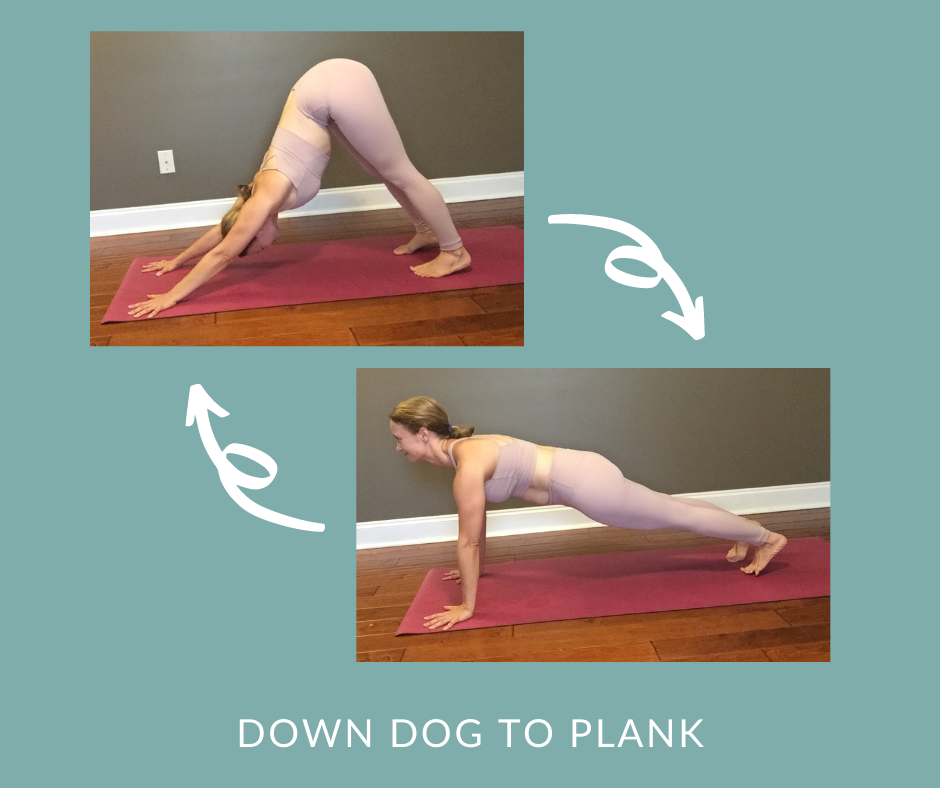
This is my favorite way to warm up the body to prepare for Vinyasa Flow class. Start in Plank. On an exhalation, lift the hips up and back into Downward Facing Dog. On the inhalation ripple forward, stack your shoulders over your wrists for Plank Pose. Repeat 5 or so times.
Down Dog to Cheetah
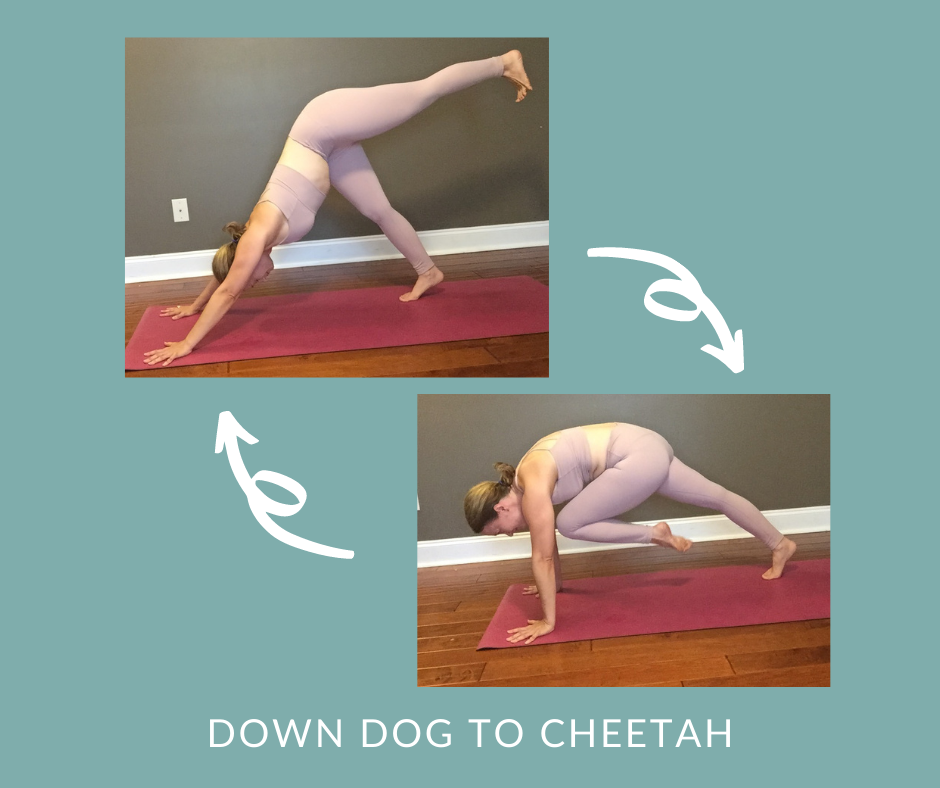
From Down Dog, lift one leg up and behind you with an inhale. As you exhale, come forward into a Plank, round your upper back, and bring your knee to your nose. You can repeat with that leg a couple times or move right on to the other side.
This is the first post in a series on core strength. Be sure to check back soon and sign up for the email newsletter so you don’t miss the next post, where I talk to some of my favorite teachers about postpartum core strength.